Whether you’re swapping from a standard bucket to a speciality attachment, or simply replacing a worn-out model, the process of changing a mini digger’s bucket requires a precise, methodical approach. By following a few key steps, operators can ensure a smooth, safe, and seamless transition that keeps their mini digger in top working order.
- Park the mini digger on a level, stable surface and engage the parking brake. Lower the bucket to the ground to relieve pressure on the hydraulic system.
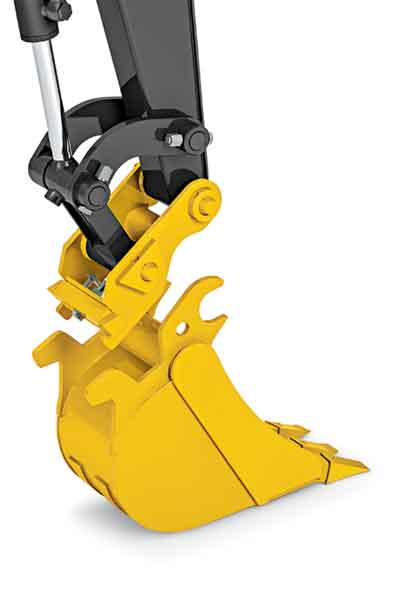
- Locate the quick coupler mechanism on the end of the excavator arm. This is typically a two-piece latch system that secures the bucket in place.
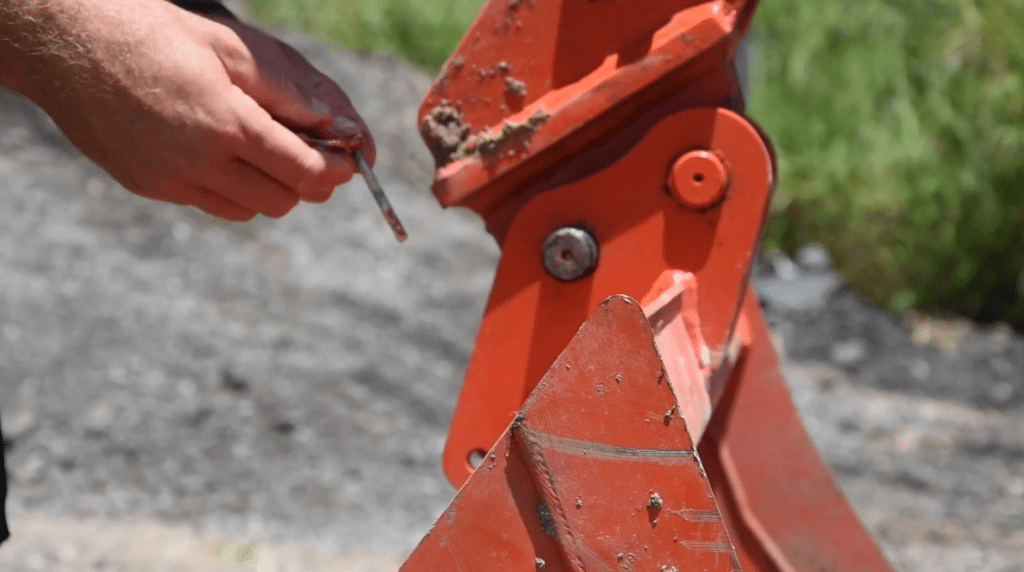
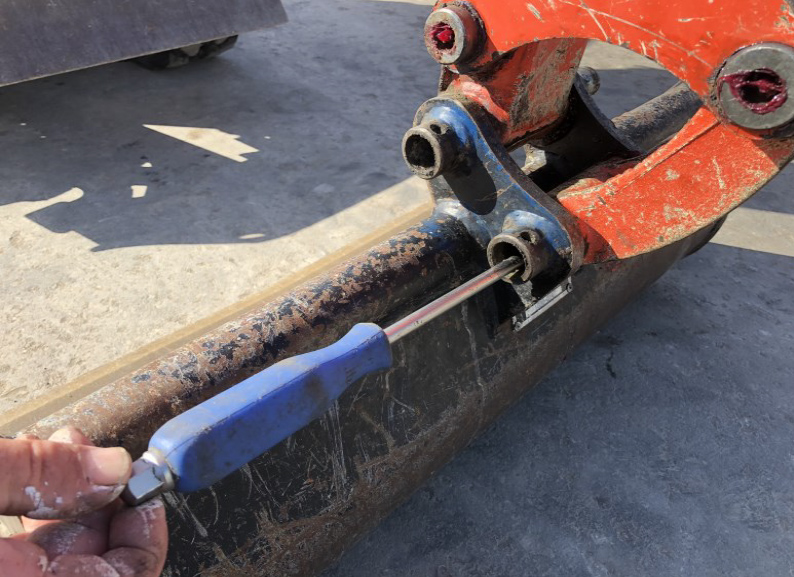
- Disengage the quick coupler by activating the release lever or pulling the necessary latch pins. This will allow the bucket to detach from the excavator arm.
- Carefully move the excavator arm away from the bucket, ensuring that the bucket does not fall over during the process.
- Attach the new bucket to the excavator arm by aligning the mounting points and engaging the quick coupler mechanism. Ensure that the latch pins or levers are fully secured.
- Test the new bucket’s functionality by raising, lowering, and swinging the excavator arm. Ensure that the bucket is properly connected and operating smoothly.
- Adjust the bucket’s positioning and tilt as needed to ensure proper fit and alignment.
- Perform a final safety check to ensure that the bucket is securely connected and that all safety devices are functioning correctly.
how to change bucket on mini digger
It’s important to follow the manufacturer’s instructions and safety guidelines when changing the bucket on a mini digger. Proper training and caution are essential to prevent accidents and ensure the safe operation of the equipment.